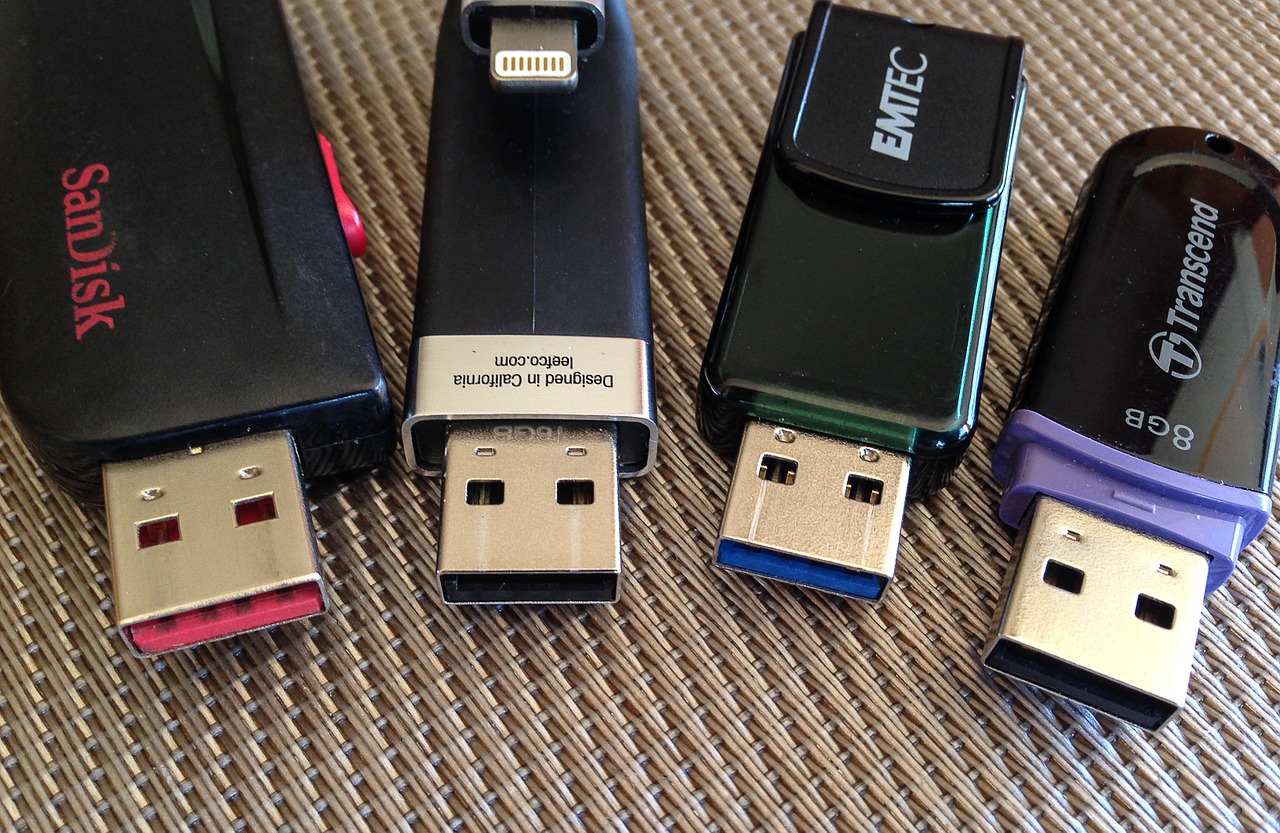
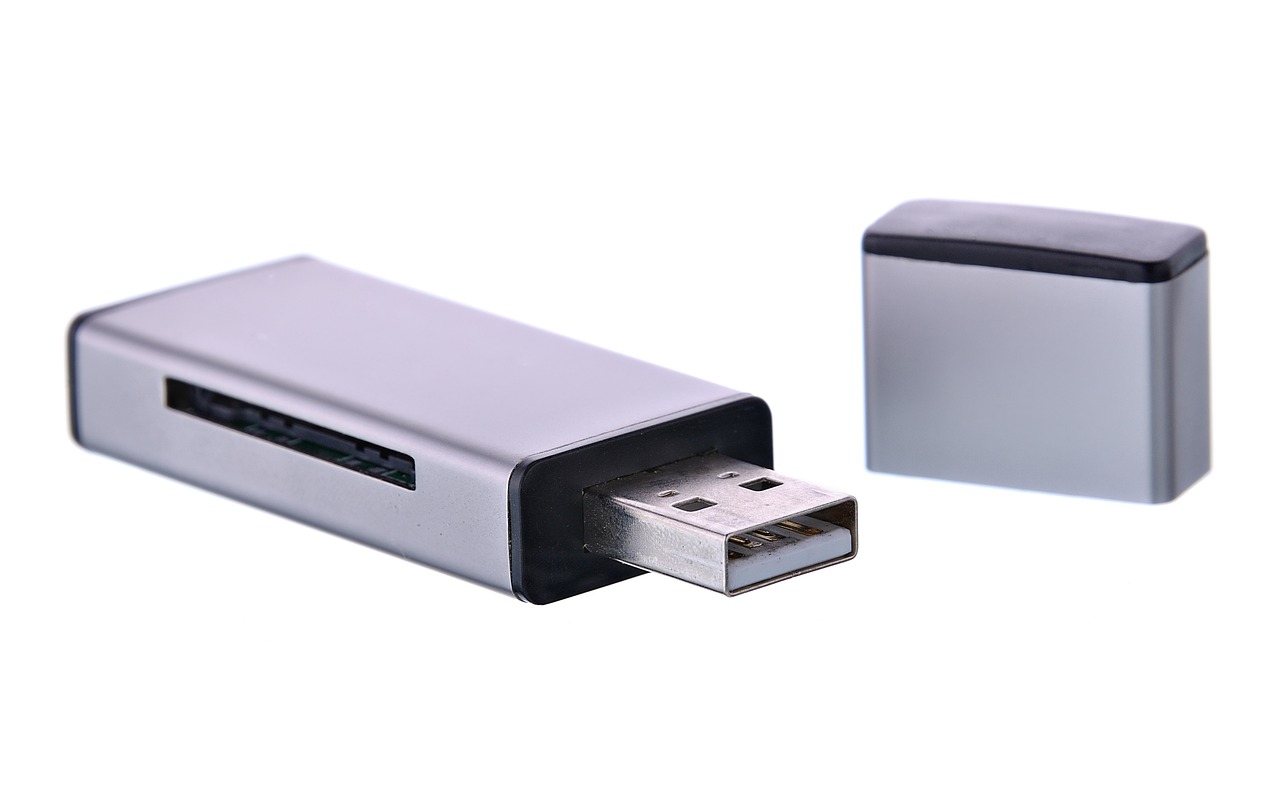
A flash drive is a small, portable storage device that plugs into your computer’s USB port. It stores your files and data so you can access them on the go. Duplicating flash drives is an easy way to make backup copies of important documents or irreplaceable family photos. This article will explain how flash drives are duplicated.
Why duplicate flash drives
First of all, you should know why flash drive duplication is important. Well, flash drives are critical devices given the current digital age we’re living in – they can hold a lot of information and data that may be crucial to your daily tasks or even for work purposes. Imagine losing all this valuable data stored on a flash drive because it got damaged? You don’t want this to happen, which is why you should duplicate flash drives from time to time.

Of course, if you are unsure of how to do this you can always contact professionals. Find out where you can buy duplicated flash drives and do it for a low cost which will save you a lot of time and hassle. That way, you will know that everything is done as it should.
With professional help, you don’t have to worry about losing data from flash drives because these guys know what they’re doing. After all, they are doing it for a living.
Step One: Back Up Your Data First!
It’s important for your own security and safety that you back up all of the information on your flash drive before duplicating it because if there are any errors or problems during copying then they could result in even more serious consequences like permanently losing files or programs forever. So make sure that you have made copies of first so that way you don’t lose any important data when you are trying to duplicate flash drives.
This step is done by copying everything in the flash drive onto a USB hard drive or external disk which will make backups of your files and folders at all times in case anything happens while duplicating flash drives. Then, after this backup has been created it can be stored on an external device like another flash drive, tablet computer, smartphone, etc., so that way if something were to happen with your original flash driver then these copies could help get back all the information safely without losing any programs or other crucial files.
Step Two: Format Your Flash Drive
The second step for duplication is formatting your flash driver because sometimes there might already be data that was previously copied onto the flash drive which you want to delete before continuing. Formatting will erase all of this data from your flash drive and then ensures that only new files can be stored on it afterward.
This step is necessary because sometimes when copying information onto a flash drive there might already be other things saved onto it, which means that these could end up getting copied over as well instead of just what was requested in duplication. So formatting first gets rid of any previous backups or anything else currently saved on the flash drive so that way nothing interferes with duplicating correctly and safely.
Step Three: Create an Image File
Now create a clone image file by using software like iSkysoft Data Recovery for Windows or EaseUS Todo Backup Free for Mac. These programs create an exact copy of flash drives, which means that all files and folders can be copied onto it easily without any loss or other problems.
Once the flash drive has been formatted then you will need to use a program like this one to clone your flash driver properly so that way everything is duplicated correctly and there won’t be any mistakes while copying important information over from one flash drive to another.
Step Four: Make Copies by Duplicating Your Flash Drive
Finally, duplicate your original flash drive by using the cloned image file created in step three above as well as some good quality USB sticks (check our product page here). This ensures that all data gets transferred successfully along with no errors during duplication making everything run smoothly.
This step is the final one of flash drive duplication because once all files have been copied into an image file then it can be stored onto another flash drive or USB stick in order to make copies like this easily and quickly without any problems along the way. Just use these steps when you want to duplicate flash drives for better security, safety, and convenience!
How to use the Windows Disk Management tool to make copies of USB sticks or SD cards
To use the Windows Disk Management tool to make flash drive duplication, you will need one flash drive and another flash drive or memory card. Insert the flash drive into your computer. Open up Disk Management by pressing Windows Key + R on your keyboard (to open Run) then type “diskmgmt.MSC” in the run box that pops up; hit enter to open the tool. Right-click on your flash drive and select “clone” from the menu that pops up; this will now make a copy of it onto the other flash drive or memory card you inserted. Voila! You now have flash drive duplication.
Using the disk management tool is a simple way to duplicate flash drives, but there are other ways you can do so as well.
How to use Mac OS X’s Disk Utility app to make copies of USB sticks or SD disks
Mac users have a little different flash drive duplication process in comparison to Windows. This is because flash drives are used differently between the two platforms and adapters for flash drives, such as SD cards, have different names on each platform. Here are the steps:
- Insert the flash drive into the computer USB port.
- Launch Disk Utility from the utility folder under Applications in Finder.
- Select the flash drive from the left side list of devices and then click on the “Duplicate” button at the top right corner.
This will duplicate flash drives fast without a hassle.

Flash drive duplication is necessary and you should do it from time to time to protect your data. Now you know the process, but if you’re unsure contact professionals. Make sure to follow the process and you’ll be fine. The most important thing is to know the difference between the process on Windows and Mac.


