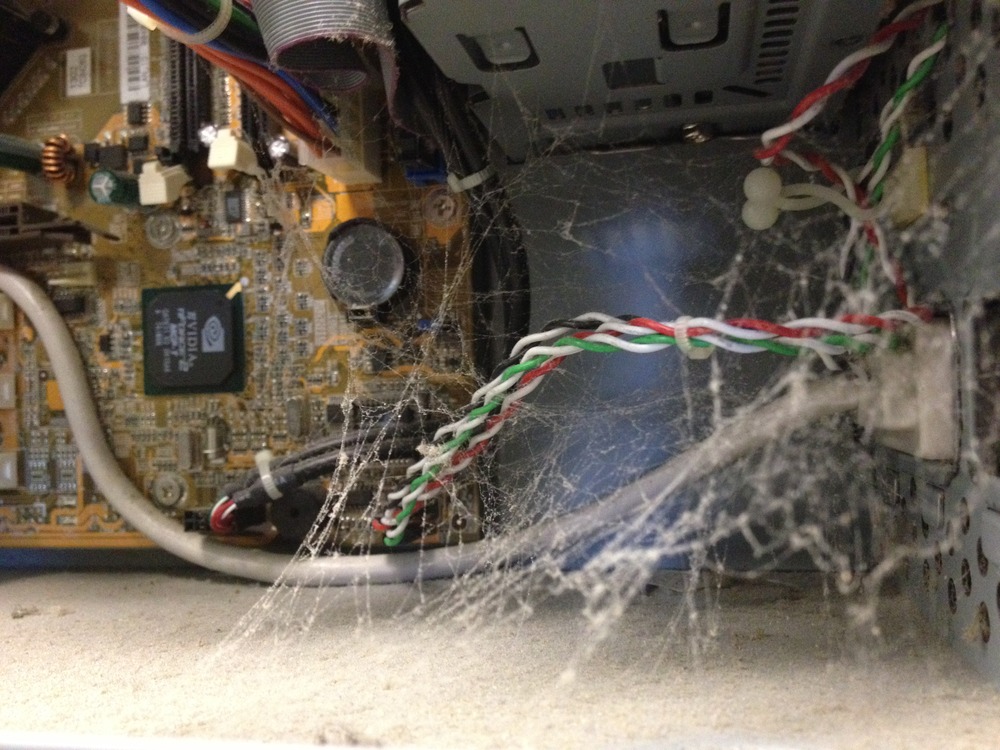
A few weeks ago, we gave you some tips on cleaning the outside of your computer. Now, if you’re feeling brave, let’s move on to the inside. Keeping the inside clean is really important for making sure your computer’s life is going to be as long as possible. Dust buildups can cause overheating and poor contacts between components, which can result in serious hardware failure. And if you have cobwebs inside your computer… well, it’s definitely time to do something about it!

It’s much easier to clean desktops than it is to clean laptops. Desktops are designed to be disassembled, and they’re easy to put back together. And, in many cases, opening up your laptop voids the warranty. If you’re not feeling confident about taking your computer apart, call us and we’ll do it for you. But if you’re up to the challenge, here goes..
You will need:
- Standard (flat-tip) and/or Phillips screwdriver
- Can of compressed air
- Cotton swabs
- Microfiber or very soft lint-free cloths, paper towels, or anti-static cloths
- Water
- Rubbing alcohol
- Safety glasses and tweezers (optional)
Steps:
1. Turn off your computer and disconnect it from the power source.
2. Open the case.
Desktop computers.
Face the back panel: Newer model cases typically use small knobs that you can turn by hand, or buttons that you press in, to release a side panel or the entire shell of the case. Others may require you to remove two or more slotted or Phillips screws. If in doubt, consult your owner’s manual for specific instructions.
Laptop / notebook computers.
Set the computer upside down on a table or other stable surface.
Suggestion: Place a towel or paper under the computer to prevent scratches and scuffs.
Remove the battery.
On most laptops, the vents on the underside will be grouped on a removable panel, secured to the case with several screws. Remove them, and keep track of which goes where.
3. Cleaning:
Look for any dust, lint, and other bits of fluff. Pick them out carefully with tweezers or a cotton swab.
Blow compressed air around all of the components and along the bottom of the case.
Aim the air in such a way that it blows debris out, rather than driving it deeper in.
Take particular care when blowing the delicate fans: position the compressed air can well away, and use short bursts of air.
Blow air into the floppy disk, CD or DVD drives, and I/O ports
Wipe the inside of the cover with a lightly moistened cloth, and dry it completely.
4. Reassembly
Make sure that everything is dry before assembling back your computer/ laptop/ notebook.
That wasn’t so bad, was it? We recommend cleaning the inside of your computer at least once a year.


Someone brought me a computer once the family dog had hiked his leg on. Pee’d right on the power button and shorted out the power supply. Also had dried inside the case. True story. 🙂